The quest for the perfect poached egg often feels like a culinary challenge reserved for professional chefs or leisurely weekend brunches. Visions of delicate, silky whites cradling a molten, golden yolk can seem daunting to achieve at home. Many culinary experts even proclaim their "best way" to poach an egg, often adding to the intimidation rather than alleviating it. But what if we told you that mastering the art of poaching eggs, complete with those irresistible runny yolks, is much simpler than you think?
Forget the fuss and the complex techniques. We're here to demystify the process and show you exactly how do you poach an egg with consistent, delicious results. Whether you're aiming for a luxurious Eggs Benedict, a healthy breakfast bowl, or simply want to elevate your everyday meals, getting perfectly poached eggs can be a quick and satisfying reality, even on the busiest of mornings. With just a few simple steps and a little practice, you'll be creating culinary masterpieces in no time.
Why Poached Eggs are Worth the "Effort" (and How to Make it Effortless)
There's a reason poached eggs are a beloved staple in breakfasts and brunches worldwide. Their unique texture—soft, yielding whites encasing a rich, creamy yolk—offers a delightful contrast that elevates almost any dish. Unlike fried or scrambled eggs, poaching uses no added fats, resulting in a lighter, purer egg flavor that shines through. The appeal lies in that satisfying moment when you gently break into the yolk, allowing its golden cascade to mingle with other ingredients on your plate.
While the delicate nature of poached eggs might suggest they're best left to special occasions, the truth is, once you grasp the basic technique, they become a remarkably fast and versatile addition to your cooking repertoire. The perceived "finesse" involved often boils down to a few key principles and a bit of patience. We'll strip away the complexity and focus on the core steps that guarantee success, turning what many consider an undertaking into an everyday pleasure.
The Classic Stovetop Method: Your Go-To Guide for Perfect Poached Eggs
The traditional stovetop method is the gold standard for poaching eggs, offering control and yielding consistently beautiful results. Follow these steps for an effortlessly elegant poached egg.
Gather Your Tools and Ingredients
- Medium Skillet or Large Saucepan: A 10-inch skillet or a similarly sized saucepan works well. Choose one with enough surface area if you plan to poach multiple eggs at once.
- Slotted Spoon: Essential for carefully removing the delicate eggs from the water.
- Small Dishes or Ramekins: One for each egg you plan to poach. This step is crucial for maintaining the egg's integrity.
- Fresh, Cold Eggs: Freshness is key! Fresher eggs have tighter whites, which are less likely to spread and become stringy. Keeping them cold also helps them hold their shape.
- White Vinegar: Just a tablespoon. This is your secret weapon for neat, compact whites.
- Water: Enough to half-fill your pan.
- Optional: Cooking Oil or Shortening: For lightly greasing the pan, which helps prevent whites from sticking.
- Salt and Pepper: For seasoning after poaching.
Step-by-Step Poaching Perfection
- Prep the Water and Pan:
- Begin by lightly greasing the bottom and sides of your skillet or saucepan. While optional, this simple step can significantly help prevent the egg whites from adhering to the pan, making removal much easier.
- Fill the pan approximately halfway with water.
- Add about 1 tablespoon of white vinegar to the water. Why vinegar? Vinegar helps the egg whites coagulate faster, keeping them compact and preventing those wispy, stringy bits from spreading throughout the water. Don't worry, you won't taste it in the finished egg.
- Bring the water to a rolling boil over high heat.
- Once boiling, immediately reduce the heat to a gentle simmer. You should see small bubbles consistently breaking the surface, but the water should not be furiously bubbling. This gentle, consistent heat is vital for cooking the eggs evenly without jostling them apart.
- Crack and Slip with Care:
- Crack one cold egg into a small dish or ramekin. This allows you to inspect the egg for any shell fragments and ensures you can gently introduce it to the water without breaking the yolk. Preparing eggs in individual dishes prevents a chaotic scramble at the stovetop.
- Carefully slide the egg into the simmering water. Hold the lip of the dish as close to the water's surface as possible before tilting it, allowing the egg to gently slip in. The goal is to introduce the entire egg at once to prevent the whites from scattering.
- If you're poaching multiple eggs, repeat the process with up to three more, adding them one at a time. Ensure they are spaced evenly in the skillet to prevent them from sticking together and to allow for even cooking. Overcrowding the pan can also drop the water temperature too much.
- The Waiting Game (and How to Time It):
- Allow the eggs to simmer, uncovered, for 3 to 5 minutes. The exact time will depend on the size of your egg and your desired yolk consistency.
- During this time, the whites will become completely set and opaque. The yolks should begin to thicken but remain beautifully runny in the center. For a softer, runnier yolk, aim for 3-4 minutes. For a slightly firmer yolk that's still creamy, go for 5 minutes.
- Finishing Touches:
- Using a slotted spoon, carefully remove each poached egg from the water. Allow any excess water to drain off.
- If desired, you can gently trim any rough, wispy edges of the whites with a knife or kitchen shears for a neater presentation.
- Season immediately with a sprinkle of salt and freshly ground black pepper.
- Serve hot and enjoy!
Alternative Methods for Busy Mornings or Special Equipment Lovers
While the classic stovetop method is highly recommended, there are other ways to achieve perfectly poached eggs, especially if you're looking for extra convenience or speed.
Embrace the Egg Poaching Pan
An egg poaching pan is a fantastic investment for those who regularly enjoy poached eggs and desire a foolproof, consistent result. These pans typically feature a non-stick insert with several individual cups that sit above simmering water, essentially steaming the eggs.
- Prepare the Poacher: Lightly grease each cup of your egg-poaching pan with cooking oil or shortening to prevent sticking.
- Set Up: Fill the bottom of the poaching pan with enough water so that it doesn't touch the bottom of the poaching cups when the insert is placed on top. Bring the water to a boil, then reduce the heat to a gentle simmer.
- Add Eggs: Crack an egg into a small dish, then carefully slide it into one of the greased poacher cups. Repeat for each cup you wish to fill.
- Cook: Cover the pan with its lid and cook for 4 to 6 minutes. The whites will set completely, and the yolks will thicken to your desired consistency while remaining runny.
- Remove: Once cooked, run a thin knife around the edges of each egg to loosen it. Carefully invert the poaching cup over your serving plate to release the egg.
Pros: Less mess, perfectly shaped eggs every time, and easy removal. Cons: Requires special equipment, and the texture can sometimes be slightly firmer than traditionally poached eggs due to the steaming process.
Microwave Poaching: A Quick Fix
For those truly pressed for time, the microwave offers a rapid solution for a single poached egg. While it might not yield the aesthetically perfect egg of the stovetop method, it's incredibly fast. For a detailed guide on this speedy technique and more advanced tricks to get perfect poached eggs every time, check out our comprehensive article: Get Perfect Poached Eggs Every Time: Simple Steps & Expert Tricks.
Troubleshooting & Expert Tips for Poaching Success
Even with a straightforward guide, a few common issues can arise. Here are some expert tips to ensure your poaching journey is always a success:
- Freshness is Paramount: The fresher your eggs, the better they will poach. Older eggs have thinner whites that spread easily, resulting in stringy edges. Always use the freshest eggs you can find.
- Don't Skip the Vinegar (But Don't Overdo It): A tablespoon of white vinegar is enough. Too much can impart a subtle vinegary taste to your eggs.
- Gentle Simmer, Not a Rolling Boil: Aggressive boiling water will break your eggs apart. A gentle, consistent simmer is crucial for keeping them intact and cooking them evenly.
- Individual Dishes Are Your Friends: Always crack eggs into separate dishes first. This not only allows for quality control but also ensures a smooth, controlled slip into the water, preventing yolks from breaking and whites from scattering.
- Don't Overcrowd the Pan: Give each egg space to cook. If you're poaching more than four eggs, consider doing them in batches. Overcrowding drops the water temperature and can lead to uneven cooking or eggs sticking together.
- Practice Makes Perfect: Like any culinary skill, poaching eggs gets easier with practice. Don't be discouraged if your first few attempts aren't flawless. Each try will teach you more about your equipment and technique.
Beyond Benedict: Creative Ways to Enjoy Your Poached Eggs
While the iconic Eggs Benedict (with its English muffin, Canadian bacon, and hollandaise) is a delicious showcase for poached eggs, the possibilities extend far beyond brunch. Once you know how do you poach an egg perfectly, you'll want to add them to everything!
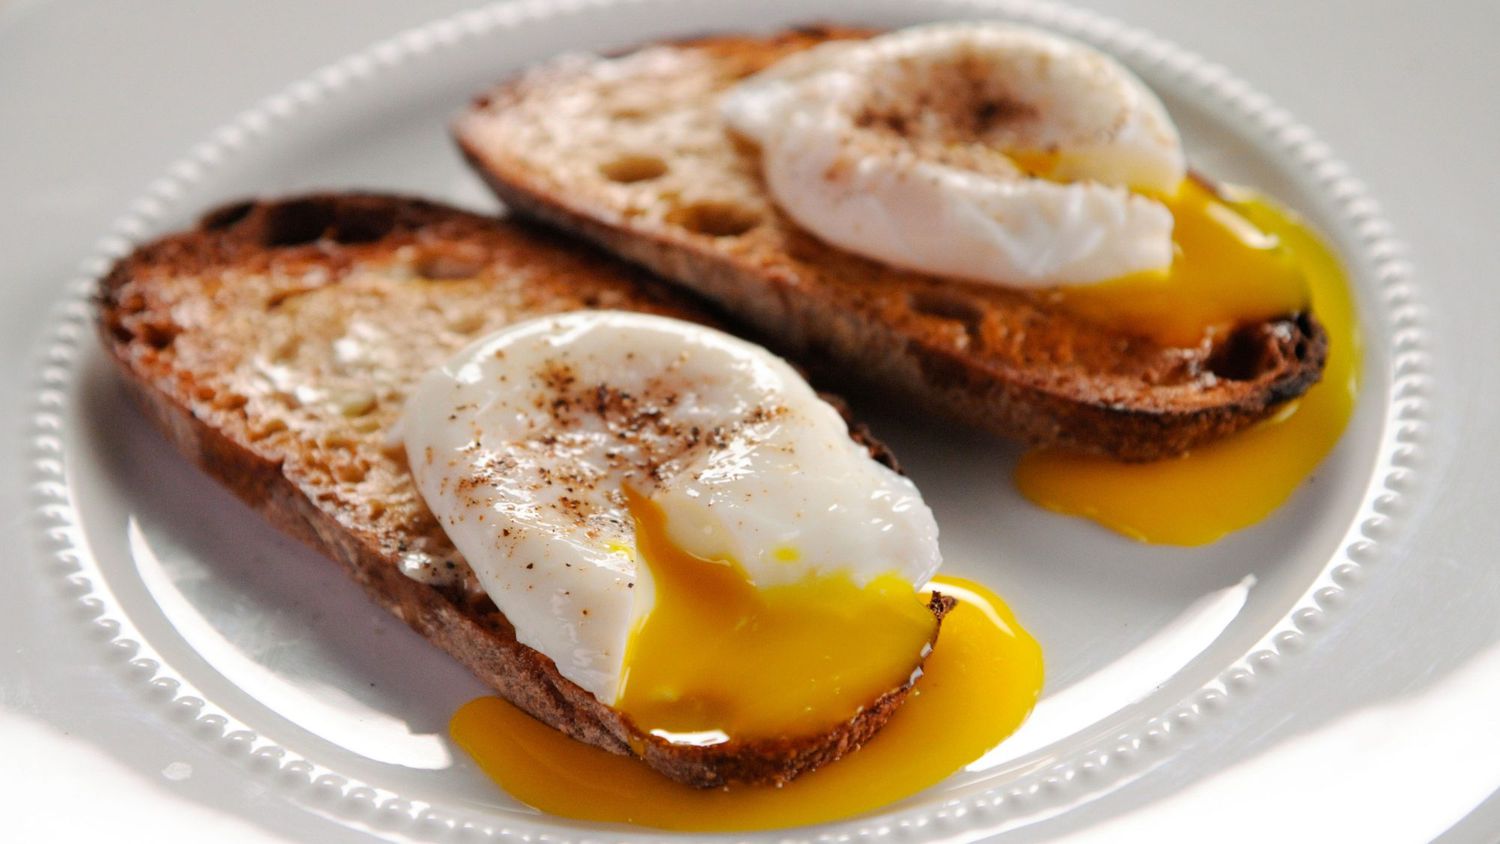
- Avocado Toast Elevated: A poached egg instantly transforms simple avocado toast into a gourmet meal.
- Hearty Grain Bowls: Top a bowl of quinoa, farro, or brown rice with roasted vegetables and a perfectly poached egg for a satisfying and nutritious lunch or dinner.
- Salad Superstars: A warm poached egg over a crisp green salad (like a Niçoise or a warm spinach salad) adds richness and a creamy dressing element when the yolk breaks.
- Soups and Stews: Drop a poached egg into a bowl of ramen, a spicy lentil soup, or a comforting tomato soup for an extra layer of flavor and protein.
- Spicy Tomato Sauces: Poached eggs are a natural fit for dishes like Shakshuka, where they gently cook in a rich, spiced tomato sauce.
- Pasta Power-Up: A poached egg stirred into pasta with a light sauce (think cacio e pepe or a simple garlic and olive oil) creates an incredibly luxurious, creamy coating.
For more innovative and delicious ideas that go beyond the traditional, explore our article: Beyond Benedict: Creative Ways to Enjoy Your Perfect Poached Eggs.
Mastering the poached egg is a culinary skill that truly pays dividends. It transforms humble eggs into a versatile, elegant ingredient that can enhance countless meals. By understanding the simple science behind the vinegar, the importance of a gentle simmer, and the magic of fresh eggs, you're well on your way to consistently creating those coveted perfect runny yolks. So, don't let intimidation hold you back any longer. Grab your skillet, crack those eggs, and start enjoying the delicious world of perfectly poached eggs today!
