Beyond Benedict: Creative Ways to Enjoy Your Perfect Poached Eggs
The delicate dance of a perfectly poached egg – that glistening, tender white encasing a molten, golden yolk – is a culinary masterpiece often associated with the grandeur of weekend brunches and the iconic Eggs Benedict. Yet, for many, the thought of creating this seemingly intricate dish can feel daunting, leading to questions like "
how do you poach an egg?" The good news is, achieving that ideal texture of slightly thickened yolk and opaque, silky whites is far more accessible than you might imagine. With a little practice, this egg-cooking technique can become a staple for even your busiest mornings, and its versatility extends far beyond the brunch table.
Forget the notion that poached eggs are an undertaking best left to professional chefs or leisurely Sundays. In about 10 minutes, you can have a single poached egg, or several, ready to elevate any meal. And once you master the fundamental technique, a world of creative culinary possibilities unfolds.
Mastering the Art of Poaching: Your Step-by-Step Guide
Understanding
how do you poach an egg successfully begins with a few key steps that ensure consistent results, whether you're a novice or a seasoned cook. The goal is a firm, yet tender white and a wonderfully runny yolk.
The Classic Stovetop Method for Perfect Poached Eggs
This traditional approach is reliable and doesn't require any special equipment beyond a pan and a few kitchen staples.
- Prepare Your Water: Select a medium skillet (about 10 inches in diameter) or a large saucepan. Fill it halfway with water. While optional, lightly greasing the pan can help prevent the whites from sticking. Crucially, add a tablespoon of white vinegar to the water. This is a game-changer; the acidity helps the egg whites set quickly and coalesce, preventing them from spreading thinly and getting stringy. Bring the water to a rolling boil, then immediately reduce the heat to a gentle simmer. You should see small bubbles consistently breaking the surface, but no vigorous boiling.
- Egg Preparation is Key: Crack a cold egg into a small dish or ramekin. Using a cold egg helps maintain its structure. The small dish is vital for a controlled entry into the water; it prevents the yolk from breaking and ensures the entire egg slips in at once.
- The Gentle Entry: Carefully lower the lip of the dish as close to the simmering water as possible and gently slide the egg in. Do this slowly to avoid disturbing the water too much, which can cause the egg to break apart. If poaching multiple eggs (up to three or four at a time is ideal for a 10-inch skillet), add them one by one, ensuring adequate space between each to prevent sticking.
- Simmer and Set: Allow the eggs to simmer, uncovered, for 3 to 5 minutes. The precise timing depends on your desired yolk consistency. For a perfectly runny yolk with fully set whites, aim for closer to 3 minutes. The whites should be completely opaque and set, while the yolks will begin to thicken but remain liquid.
- Remove and Season: Using a slotted spoon, carefully lift the eggs from the water. You can gently blot them on a paper towel to remove excess water. If desired, trim any wispy, rough edges for a neater presentation. Season immediately with salt and freshly ground black pepper.
For more in-depth tips and tricks to refine this technique, check out our guide on
Master Poached Eggs: The Easy Way for Perfect Runny Yolks.
Poaching with Specialized Tools
While the stovetop method is classic, certain tools can simplify the process, especially if poached eggs are a regular feature in your kitchen.
- Egg Poacher Pans: These specialized pans come with individual cups that sit over simmering water. Lightly grease each cup with cooking oil or shortening. Place the poacher cups over the pan of boiling water (ensure the water doesn't touch the bottom of the cups) and reduce the heat to a simmer. Crack an egg into each cup, cover the pan, and cook for 4 to 6 minutes. The whites will be completely set, and the yolks will be thickening. A quick run of a knife around the edges will help release the eggs from the cups before inverting them.
- Microwave Poaching: For the ultimate speed, microwave poaching offers a quick alternative. Fill a microwave-safe bowl with about half a cup of water and a dash of vinegar. Gently crack an egg into the water. Microwave on high for 45-60 seconds, or until the whites are set. Be cautious when removing, as the water will be very hot. This method is fantastic for a single egg when time is of the essence.
Beyond Benedict: Creative Culinary Adventures with Poached Eggs
Once you've mastered
how do you poach an egg, the culinary world is truly your oyster – or rather, your egg! While Eggs Benedict remains a beloved classic, featuring an English muffin, Canadian bacon or ham, a poached egg, and luxurious hollandaise sauce, there are countless other delicious and often healthier ways to enjoy this delicate protein.
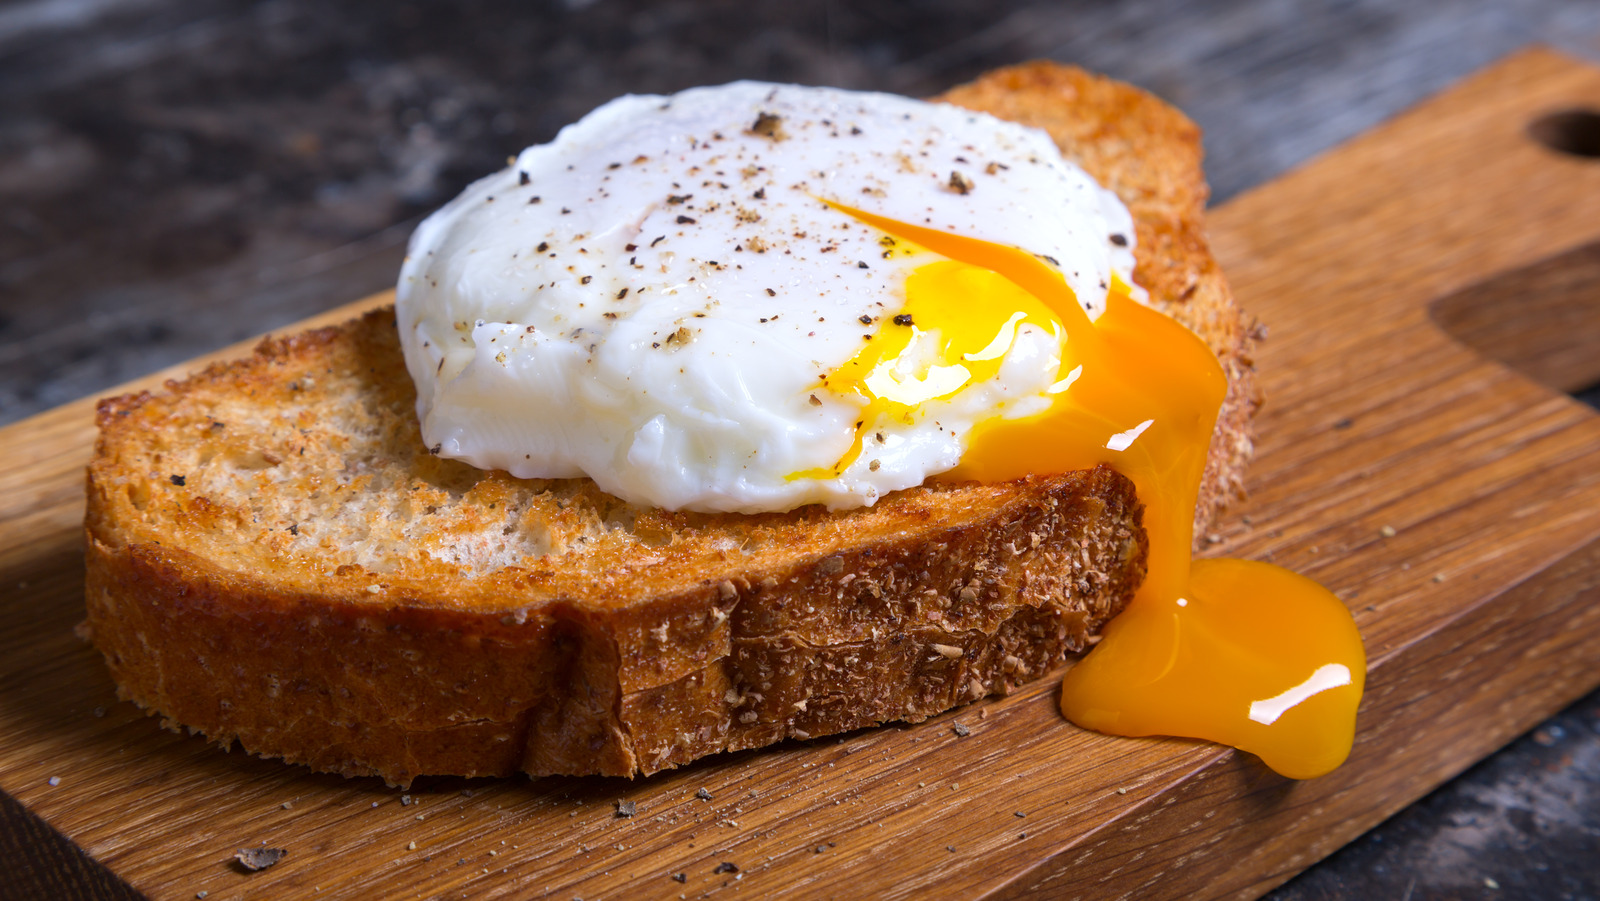
- Elevate Your Avocado Toast: A perfectly poached egg is the crown jewel of any avocado toast. The runny yolk cascades down, mixing with the creamy avocado and any chosen seasonings (think chili flakes, everything bagel seasoning, or fresh herbs).
- Hearty Grain & Veggie Bowls: Transform a simple breakfast or lunch bowl into a satisfying meal. Layer your favorite cooked grains (quinoa, farro, brown rice) with roasted or sautéed vegetables (spinach, asparagus, mushrooms, sweet potato), then top with a poached egg. The yolk creates a natural, rich sauce that binds all the flavors together.
- Shakshuka's Best Friend: While shakshuka often features eggs baked directly into the spicy tomato sauce, adding a freshly poached egg on top after cooking provides a different texture and a beautiful presentation. The rich yolk mellows the spice beautifully.
- Savory Oatmeal Surprise: Move beyond sweet oatmeal. Prepare savory oatmeal with vegetable broth, cheese, and a sprinkle of chives, then crown it with a warm poached egg for a comforting and hearty meal.
- Gourmet Salads: A poached egg can turn any green salad into a substantial and elegant dish. Imagine a classic Caesar, a vibrant beet and goat cheese salad, or even a deconstructed Niçoise with tuna, green beans, olives, and a glorious poached egg. The yolk acts as a natural dressing, enriching every bite.
- Comfort in a Bowl of Soup: Add a poached egg to clear broths, ramen, or even a hearty lentil soup for an extra layer of protein and richness. It melts into the broth, adding incredible depth of flavor and a comforting texture.
- Pasta Perfection: For a simple yet indulgent weeknight meal, toss pasta with olive oil, garlic, fresh spinach, cherry tomatoes, and Parmesan cheese, then place a poached egg on top. Break the yolk to create a creamy sauce that coats the pasta.
- Asparagus with a Twist: Steamed or roasted asparagus spears become an instant gourmet side dish or light lunch when topped with a poached egg and a sprinkle of flaky sea salt.
The possibilities are truly endless once you understand the technique. For more advanced techniques and to ensure your eggs are always perfect, explore our tips in
Get Perfect Poached Eggs Every Time: Simple Steps & Expert Tricks.
Tips for Poaching Perfection Every Time
Achieving consistently perfect poached eggs comes down to a few expert insights that go beyond the basic instructions:
- Freshness Matters: The fresher your eggs, the better they will poach. Fresher eggs have tighter whites, which are less likely to spread or become stringy in the water.
- Vinegar is Your Friend (But Don't Overdo It): A tablespoon of white vinegar per half-filled skillet is usually sufficient. Too much vinegar can impart a slight flavor to the egg. White vinegar is preferred as it has a neutral taste.
- Water Temperature is Crucial: Maintain a gentle simmer, not a vigorous boil. Boiling water will agitate the egg and potentially break it apart. Too low a temperature, and the whites won't set quickly enough.
- Avoid Overcrowding: Give each egg plenty of space in the pan. Overcrowding drops the water temperature too quickly and can cause eggs to stick together.
- Don't Forget Seasoning: While many recipes say to season after cooking, adding a pinch of salt to the water can sometimes help the whites firm up slightly, although the vinegar is more effective for this. Always season the cooked egg with salt and pepper immediately after removing it from the water.
- The Ice Bath Trick (for Batch Poaching): If you're making a large batch of poached eggs for a gathering or meal prep, you can plunge them into an ice bath immediately after cooking. This stops the cooking process and allows you to gently reheat them later in warm (not boiling) water for about 30-60 seconds.
- Trimming for Presentation: For restaurant-quality presentation, use kitchen shears to gently trim any wispy, irregular edges of the cooked whites. This creates a beautifully round, clean look.
Poached eggs are a testament to the fact that simple ingredients, prepared with care, can yield extraordinary results. The perceived difficulty of learning
how do you poach an egg often prevents people from exploring its delicious potential. But with practice and these actionable tips, you'll soon be whipping up perfect, delicate poached eggs with confidence. From elevating a humble piece of toast to transforming a gourmet salad, the runny yolk and silky whites of a perfectly poached egg are ready to become your secret weapon in the kitchen. So go ahead, break out the eggs, and start experimenting – your taste buds will thank you!