Get Perfect Poached Eggs Every Time: Simple Steps & Expert Tricks
Few things in the culinary world evoke such a sense of accomplishment as a perfectly poached egg. With its vibrant, runny yolk encased in soft, delicate whites, it's a breakfast, brunch, or even dinner staple that many home cooks consider an intimidating challenge. But fear not! The secret to mastering this elegant egg preparation isn't a complex chef's technique, but rather a few simple steps and clever tricks that will have you asking, "Is that really all it takes?" This comprehensive guide will walk you through precisely **how do you poach an egg** with consistent, delicious results, transforming your kitchen into a haven of culinary confidence.
Understanding the Art of the Poached Egg
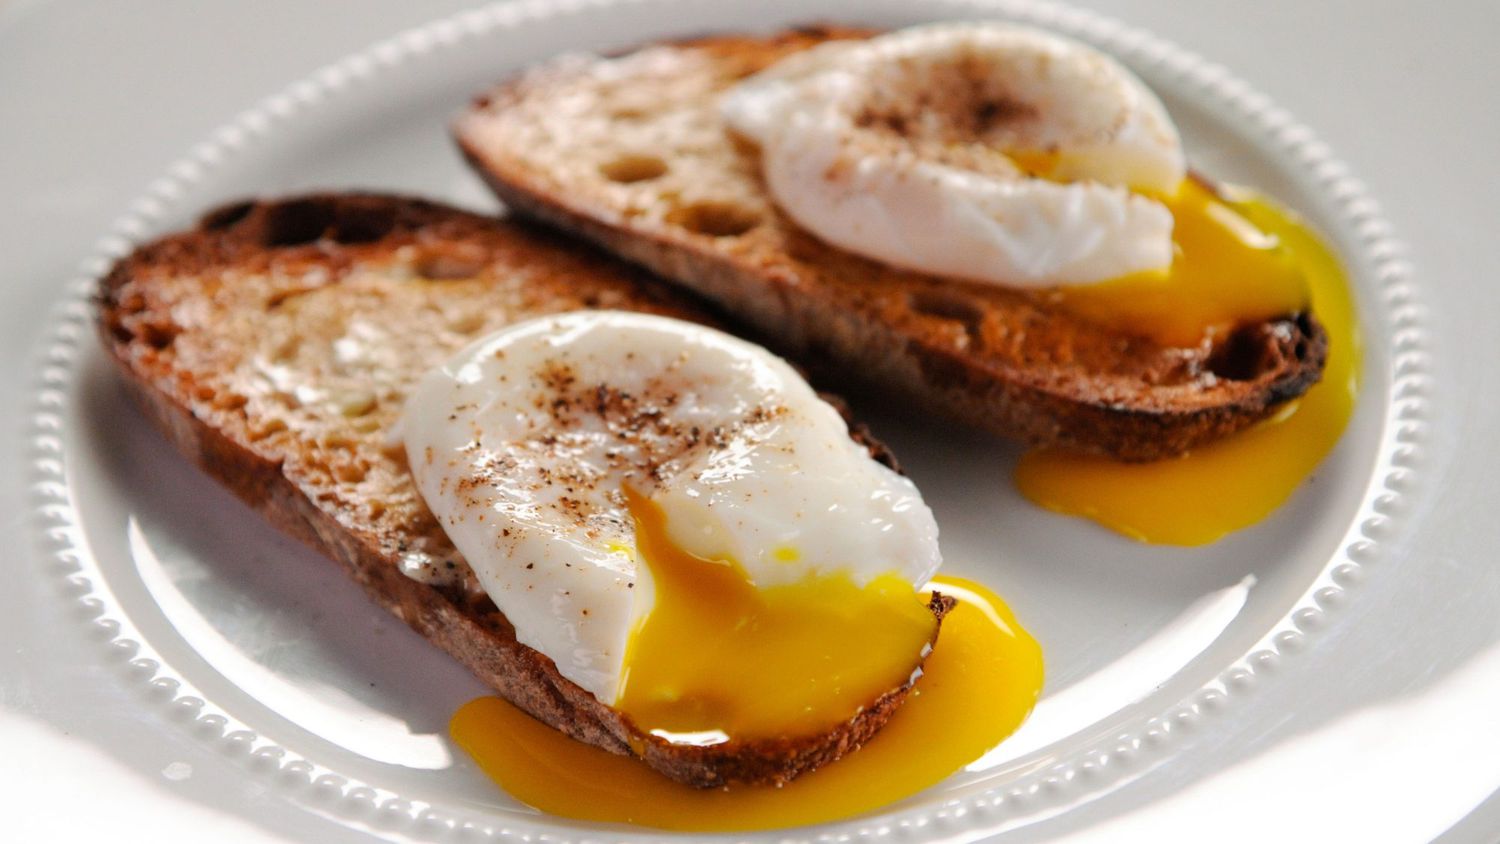
Before we dive into the method, let's appreciate what makes a great poached egg. The ideal poached egg features opaque, yet tender whites that are fully set but still silky-smooth, with absolutely no rubberiness. The star, of course, is the yolk – warm, thickened slightly, but still liquid gold, ready to burst and mingle with whatever it accompanies. This delicate balance is achieved through gentle, moist heat, which slowly coagulates the proteins in the egg whites while leaving the yolk gloriously runny.
While some culinary experts make poaching seem like an exclusive club, the truth is, with a little practice and attention to detail, anyone can achieve this seemingly sophisticated outcome. You can master the stovetop method for one or several eggs, or even opt for specialized tools to make the process even more foolproof.
The Classic Stovetop Method: Your Step-by-Step Guide
This is the quintessential way to poach an egg, offering the most control and producing those characteristic, free-form edges. It takes about 10 minutes from start to finish for a single egg, and you can comfortably cook up to four at a time in a standard pan.
1. Gather Your Essentials & Prepare the Water
- Choose the Right Pan: Opt for a medium skillet (about 10 inches in diameter) or a wide saucepan. The wider surface allows for more space between eggs.
- Fill with Water: Add enough water to fill the pan about halfway. This provides sufficient depth for the eggs to cook properly without touching the bottom or drying out.
- The Vinegar Advantage: Add about 1 tablespoon of white vinegar to the water. This is a crucial step! Vinegar helps the egg whites coagulate more quickly and tightly, preventing them from spreading out and becoming "stringy." Don't worry, you won't taste it in the final product.
- Optional Greasing: Lightly greasing the bottom and sides of your pan with a tiny bit of oil or butter can help prevent any stubborn whites from sticking. This is an optional but helpful touch.
- Heat Management: Bring the water to a boil over medium-high heat. Once it reaches a rolling boil, immediately reduce the heat to a gentle simmer. You should see small, consistent bubbles breaking the surface, but the water should not be vigorously churning. This gentle simmer is key to a tender, intact egg.
2. Prepare Your Eggs for Their Bath
- Freshness is Key: The fresher your eggs, the better they will poach. Fresher eggs have tighter whites that hold together more effectively. While the reference suggests cold eggs, some chefs prefer room temperature as it promotes more even cooking. For consistency with the reference, use cold eggs.
- Crack into Individual Dishes: Crack each egg into its own small bowl, ramekin, or even a deep spoon. This allows you to inspect the egg for any shell fragments, ensures the yolk is intact, and, most importantly, allows you to gently slip the entire egg into the water at once, preventing the whites from separating prematurely.
3. The Gentle Slip & Simmer
- Careful Entry: Once the water is at a gentle simmer, hold the lip of your dish as close to the water's surface as possible. Carefully and smoothly slide the egg into the simmering water. The goal is a controlled entry to prevent the egg from breaking apart.
- Batch Cooking: If cooking multiple eggs, repeat the process, adding one egg at a time. Ensure you space the eggs out in the skillet so they have enough room and won't stick to each other. A good rule of thumb is no more than four eggs in a standard 10-inch pan.
- Hands-Off Cooking: Let the eggs simmer, uncovered, for 3 to 5 minutes. The exact time depends on the size of your egg and your desired yolk consistency. For a perfectly runny yolk with set whites, aim for closer to 3 minutes. For a slightly thicker, still soft yolk, go for 4-5 minutes. The whites should be completely opaque and set, and the yolk should begin to thicken but still be soft to the touch when gently nudged.
4. Retrieve, Drain, & Serve
- Remove with Care: Using a slotted spoon, carefully lift each poached egg from the water. Allow any excess water to drain off. For even better results, you can briefly place the eggs on a paper towel-lined plate to absorb additional moisture.
- Aesthetic Trim (Optional): If you desire a perfectly round, aesthetically pleasing egg, you can use kitchen shears or a sharp knife to carefully trim any wispy, rough edges of the white.
- Season & Enjoy: Season immediately with a sprinkle of salt and freshly ground black pepper. Your perfect poached eggs are now ready to be enjoyed!
Alternative Methods for Effortless Poaching
While the classic stovetop method is highly rewarding, sometimes convenience calls for different approaches.
The Poaching Pan (Egg Poacher Inserts)
For those who prefer a more consistent shape and less fuss with stray whites, an egg poaching pan is a fantastic investment. These pans come with individual cups that sit over simmering water, essentially steaming the eggs.
- Prepare the Cups: Lightly grease each cup of your egg-poaching pan with cooking oil or shortening to prevent sticking.
- Set Up the Pan: Fill the main pan with water (ensuring the water does not touch the bottoms of the poaching cups when inserted) and bring it to a boil. Reduce the heat to a gentle simmer.
- Add Eggs: Carefully crack one egg into each poacher cup.
- Cover & Cook: Place the lid on the pan and cook for 4 to 6 minutes. This longer cooking time is due to the indirect heat. Check for set whites and a beginning-to-thicken yolk.
- Release & Serve: Once done, run a thin knife around the edges of each egg to loosen it, then invert the cup to release the perfectly shaped poached egg.
Microwave Poaching (For Busy Mornings)
While the reference context briefly mentions microwave poaching, it's worth noting as a super-speedy alternative for those truly hectic mornings. While it doesn't always yield the same delicate texture as stovetop methods, it's remarkably fast. (For a detailed guide on this and other methods, you might find
Master Poached Eggs: The Easy Way for Perfect Runny Yolks helpful.)
Expert Tricks for Poaching Perfection
Beyond the basic steps, these insights from seasoned cooks will elevate your poaching game:
- The Freshest Eggs are Non-Negotiable: We can't stress this enough. As eggs age, the thick white thins out and spreads more easily. Fresh eggs have a compact white that clings tightly to the yolk, resulting in a neater, more appealing poached egg.
- Don't Overcrowd Your Pan: Give each egg ample space. Overcrowding lowers the water temperature and can cause eggs to stick together or cook unevenly.
- Gentle Simmer, Not a Rolling Boil: Violent boiling water will tear apart your delicate egg whites. A gentle simmer ensures even cooking and maintains the egg's integrity.
- The "Swirl" Method (Advanced): Some chefs advocate for creating a gentle vortex in the simmering water before dropping the egg. Give the water a quick stir with a spoon to create a slow whirlpool, then gently drop the egg into the center. The swirling motion helps the whites wrap around the yolk, creating a more compact shape. This takes a little practice but can yield beautiful results.
- Prepare Ahead: Crack all your eggs into individual bowls before you start cooking. This allows for a smooth, swift transfer to the simmering water, preventing delays that could overcook earlier eggs.
- Make Ahead & Reheat: If you're hosting a brunch or meal prepping, you can poach eggs slightly underdone, then immediately transfer them to an ice bath to stop the cooking. Store them in cold water in the fridge for up to two days. To reheat, simply place them in a bowl of hot (not boiling) water for about 30 seconds to a minute, until warmed through.
Beyond Benedict: Creative Ways to Enjoy Your Perfect Poached Eggs
Once you master **how do you poach an egg**, a world of culinary possibilities opens up. While poached eggs are famously the star of Eggs Benedict – that decadent combination of English muffin, Canadian bacon, hollandaise, and a perfect poached egg – their versatility extends far beyond breakfast.
Consider these exciting applications:
- On Avocado Toast: A classic for a reason. Creamy avocado meets rich, runny yolk.
- Topping Grain or Veggie Bowls: Add a boost of protein and richness to your healthy bowls.
- In Soups or Stews: A poached egg can transform a simple lentil soup or a ramen bowl into a hearty, satisfying meal.
- Over Salads: Think a warm spinach salad with bacon, or a niçoise salad elevated with a runny egg.
- With Spicy Tomato Sauce (Shakshuka-style): Poach eggs directly into a bubbling, flavorful tomato sauce for a rustic, comforting dish.
- On Asparagus or Roasted Vegetables: A simple, elegant way to dress up your greens.
- Over Leftovers: Revitalize yesterday's rice, pasta, or roasted veggies with a fresh poached egg on top.
The possibilities are truly endless. For more inspiring ideas, check out our guide on
Beyond Benedict: Creative Ways to Enjoy Your Perfect Poached Eggs.
Conclusion
Poaching an egg, while often perceived as a delicate dance, is an entirely accessible skill that enriches your cooking repertoire. By understanding the importance of fresh eggs, precise water temperature, and the simple trick of vinegar, you can consistently achieve that coveted runny yolk and tender white. Don't be intimidated; instead, embrace the practice, and soon you'll be effortlessly creating perfect poached eggs every time. Now that you understand **how do you poach an egg**, go forth and elevate your meals with this simple yet sophisticated technique!